Add a trailer
Upload a trailer for your video content
Adding a trailer to your video content allows viewers to preview a video file for the media.
JWP recommends uploading a trailer for each uploaded video. Trailers encourage user engagement and a higher conversion rate to a paid subscription.

Add Media menu in Media LIbrary
Prerequisites
| Item | Description |
|---|---|
| App config entitlement | Entitlement to use the app config App config entitlement also enables the content types feature. For more information, contact your JWP representative. |
| Content types loaded to property | Type of media based on shared custom parameters To access the Trailer content type, load default content types to your JWP property. |
Upload a trailer
Use the following steps to upload a trailer of more than 2 seconds duration to the dashboard:
- Prepare your video content.
- From your Media Library, click Add Media > Trailer. The media upload page appears.
- In the file picker, drag and drop a video file or choose a file from the selector. The Upload in progress tile displays a progress bar. Upon a successful upload, the panel reads Upload complete.
- Click Exit. The Media Library reappears.
Now that your content has been uploaded, you can add metadata to the trailer.
Associate a trailer with a video
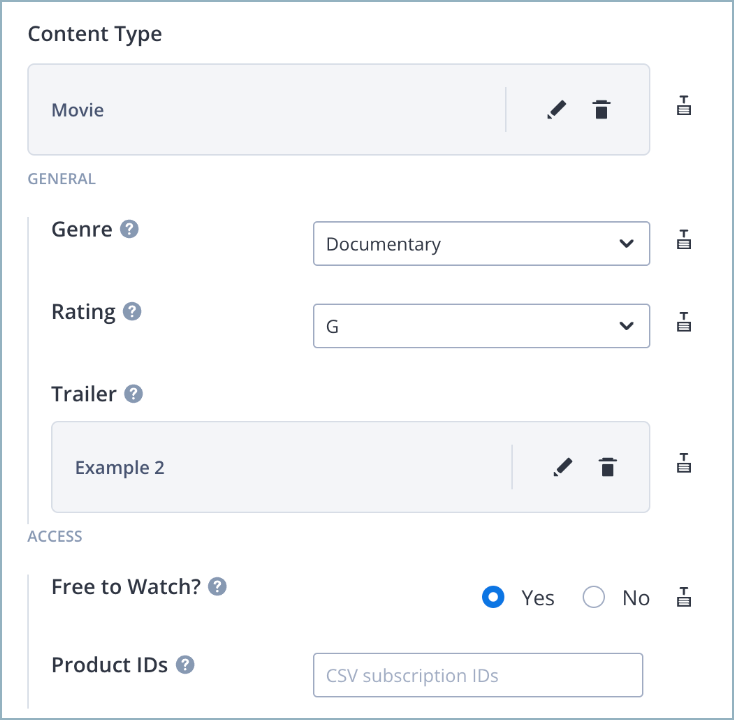
Trailer field under Content Type section
Trailers can be associated with video content, including movies, episodes, and series. Use the following steps to associate a trailer with its video:
- Upload the trailer video.
- From your Media Library, select the media item with which you want to associate the trailer. The media details page appears.
- Under the Content Type section, in the Trailer field, click + Select Media. The Select Media panel opens.
- Select the trailer video. The video file appears under the Trailer field.
- Click Save.
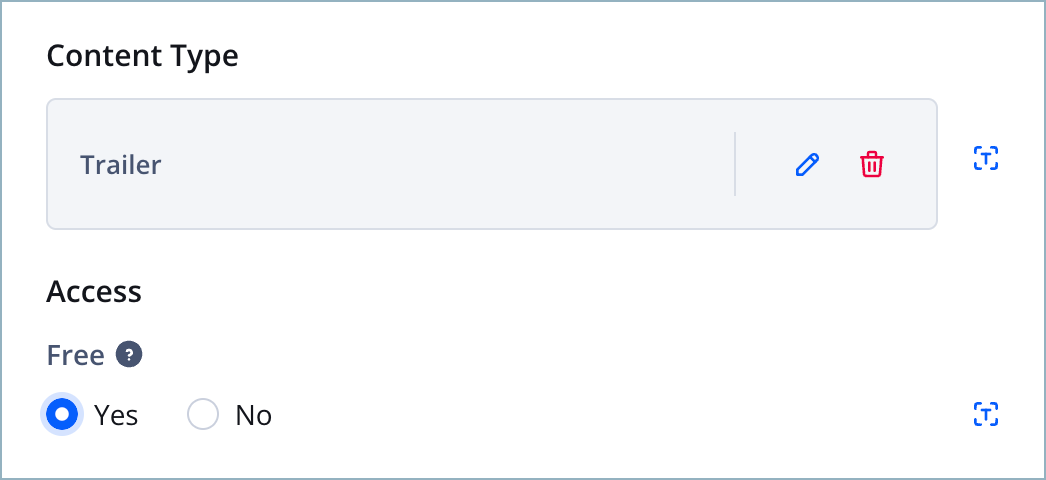
Add trailer metadata
Follow these steps to add metadata to your trailer:
-
From your Media Library, select a trailer. The media details page appears.
-
Under the Content Type section, in the Free field, click the Yes or No radio button to indicate whether the content is free or paid.
-
Click Save.
Updated 3 months ago