Define a custom registration field (BETA)
Customize the viewer registration form
This is a beta offering. You can request access to this beta feature through your JWP Account Manager.
By using this documentation, you are agreeing to abide by the terms of the JWP Beta Program Agreement.
Custom registration fields enable viewers to discover, identify, and describe themselves when creating an account on the web app, offering enhanced registration flexibility per property.
These fields allow you to add fields to the registration form, with options to choose field types such as the following:
- Simple text input
- Dropdown
- Radio button
- Checkbox
- Date picker
- Country list
- US state list
Additionally, you can add a link to mandatory terms and conditions.
Prerequisite
| Item | Description |
|---|---|
| Payments and Subscriptions Entitlement | Contact your JWP representative for more information. |
Define custom registration fields
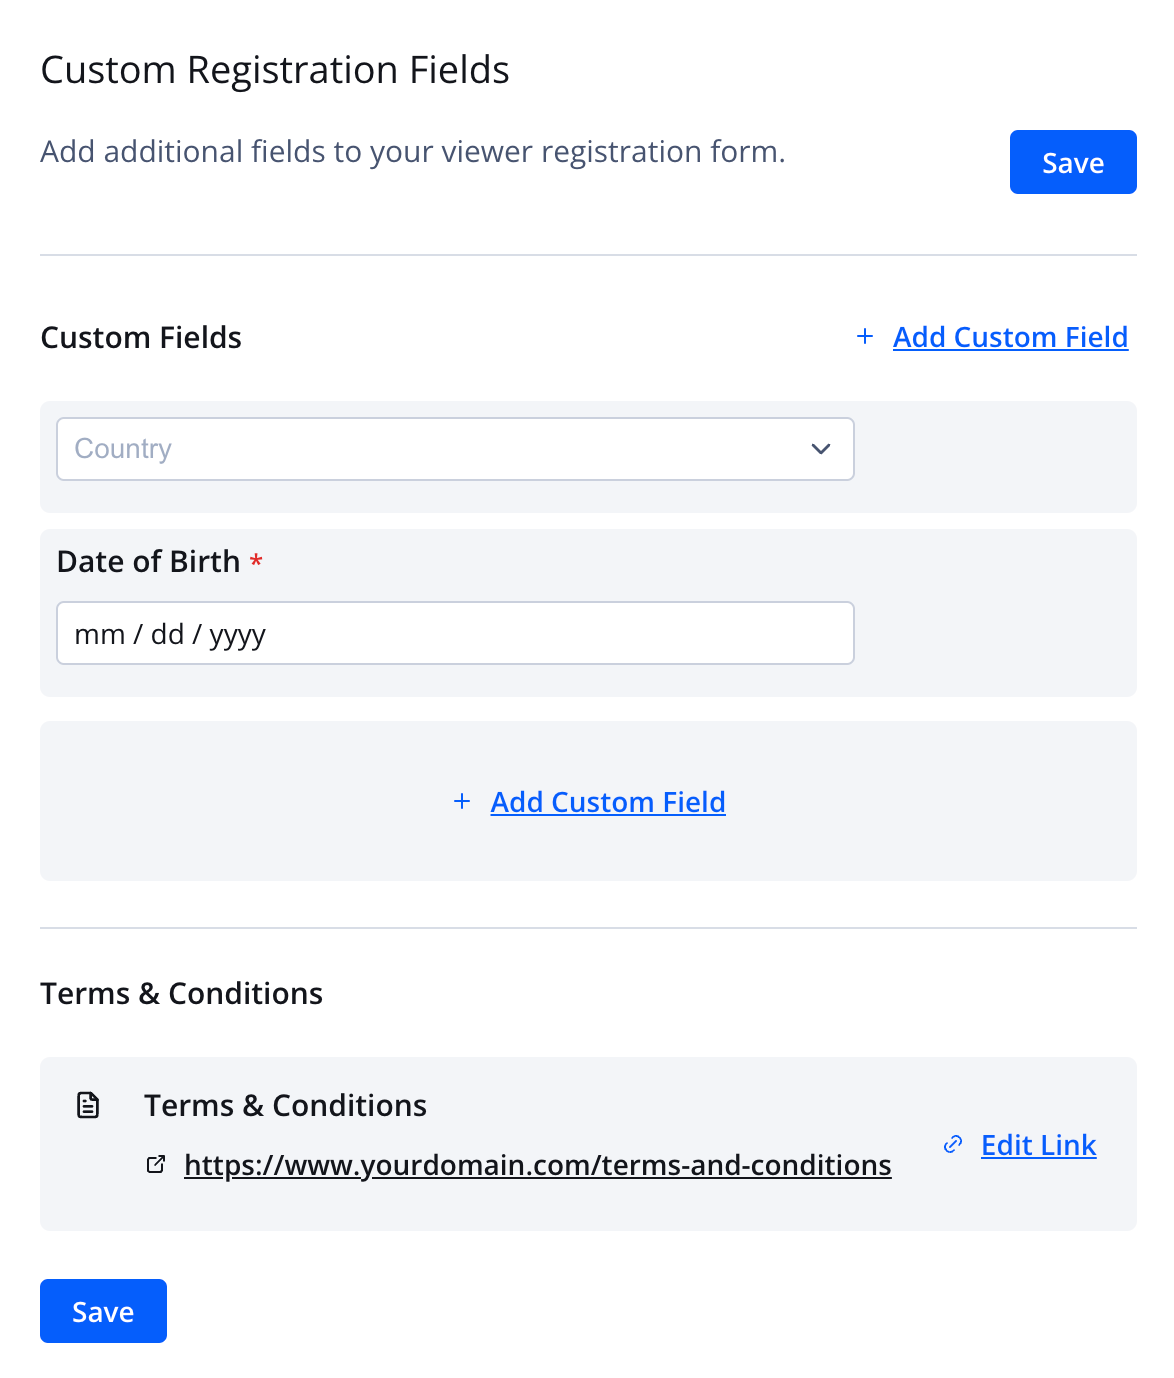
Custom Registration Fields tab
Use the following steps to define a custom field:
-
On the Properties list page, click the name of a property.
-
On the Custom Registration Fields tab, under Custom Fields, click + Add Custom Field. The Add Custom Field panel appears.
-
From the Field Type dropdown menu, select the custom field to add.
-
Define the applicable custom field properties.
Property Description Checkbox Label Displayed name of the checkbox Checked by default Initial state of the checkbox custom field
When this setting is selected, the checkbox for this custom field will be selected in the registration form. The viewer can uncheck the option in the registration form.Default Value (optional) Initial value for the option
The viewer can replace the value in the registration form.Field Label Displayed name of the field Field Placeholder Example text displayed in the field
This text illustrates the type of value to be entered in the fieldOptions Dropdown menu or radio button choices
Use the following steps to define the choices:- Click + Add Option. The Option Label field appears.
- Enter a choice.
- Repeat steps 1-2 to add multiple choices.
Required Checkbox denoting the custom field as a mandatory
When this setting is selected, a viewer must provide information in this custom field to complete registration. -
Click Add. The new field will appear under Custom Fields.
-
(Optional) Add Terms & Conditions.
Once a terms and conditions link has been added, it can only be edited. The URL cannot be removed.
-
Click Save.
Terms & Conditions
Use the following steps to add a terms and conditions link:
- Under Terms & Conditions, click + Add Terms & Conditions. The Add Terms & Conditions Link panel opens.
- Enter your Terms & Conditions link.
The link must begin with
http://orhttps://. - Click Add. The link will appear under Terms & Conditions.
Updated 3 months ago